






Why Snap Buttons Fail on Garments: Pull-Out, Fabric Damage, Misalignment and Setting Defects
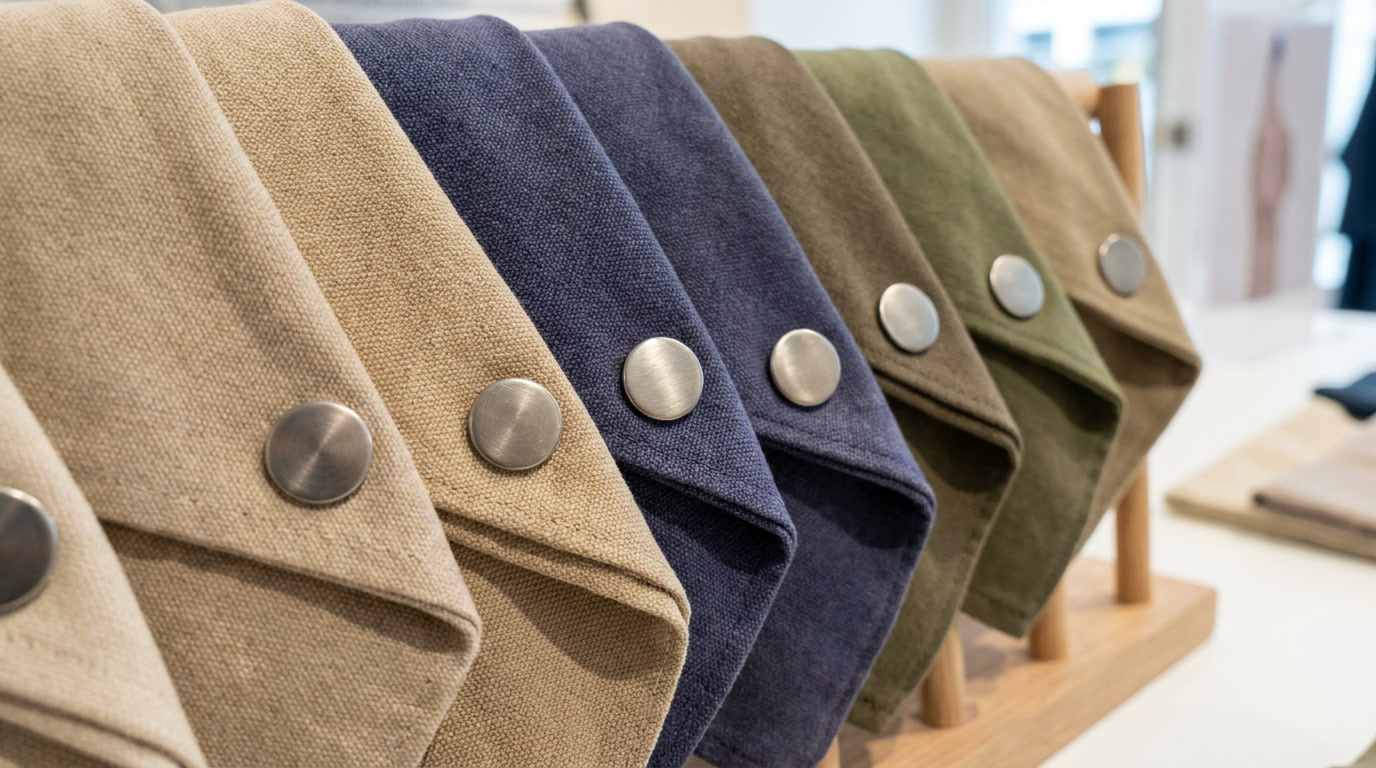
Most Snap Button Failures Begin at the Interface Between Hardware and Fabric
When a snap button fails on a garment, the first reaction is often to blame the metal component. In practice, many failures are caused by the interaction between the snap, the garment material and the installation process.
A perfectly manufactured cap, socket, stud and post can still fail if the post length is wrong, the fabric is insufficiently reinforced, the components are misaligned or the setting dies deform the internal structure.
Typical garment complaints include:
- the snap pulling completely out of the fabric;
- fabric tearing around the attachment point;
- the cap rotating after installation;
- the socket and stud failing to align;
- a dented or collapsed cap;
- a post bending sideways;
- the socket becoming too tight or too loose;
- surface scratching during setting;
- the fastener separating after repeated use.
Effective failure analysis therefore needs to examine the complete fastening system rather than looking at one loose metal part.
Failure Mode 1: The Snap Pulls Out of the Garment
Pull-out occurs when the installed component separates from the textile even though the socket and stud may still be mechanically functional.
The most common causes include:
- insufficient fabric strength;
- lack of reinforcement;
- post length too short;
- incomplete post forming;
- an oversized installation hole;
- excessive release force;
- incorrect prong engagement;
- repeated load concentrated in one small area.
The failure surface provides useful information. If the fabric tears around an otherwise intact snap, the substrate may be the weak point. If the post separates from the mating component without significant textile damage, installation geometry should be examined.
Opening Force and Attachment Strength Must Be Balanced
A snap can have excellent socket-to-stud retention but poor garment performance if the opening force is higher than the textile can tolerate.
Every time the wearer opens the fastener, the force travels through the metal components into the surrounding fabric. A lightweight blouse, knit cardigan or thin technical shell can therefore suffer progressive damage even when the metal fastener remains intact.
The engineering objective is not maximum possible retention. It is sufficient resistance to accidental opening while keeping intentional release within the load capacity of the garment construction.
Failure Mode 2: Fabric Tears Around the Snap
Fabric damage often develops gradually. The first signs can include local stretching, whitening, small cuts, elongated holes or distortion around the cap.
Possible causes include:
- opening force too high;
- insufficient bearing area;
- sharp edges or burrs;
- poor reinforcement design;
- hole preparation that removes too much material;
- post or prong geometry inappropriate for the textile;
- installation pressure that cuts or crushes fibers.
Stretch fabrics and loose knits require particular attention because the material can deform around the rigid metal component even when no obvious tear appears at first.
Knitwear Can Fail Even When the Snap Looks Properly Installed
snap buttons for sweater applications illustrate why fabric elasticity must be considered separately from fabric weight. A relatively heavy knit can still stretch significantly around the snap during dressing and opening.
Reinforcement behind the fastener can reduce local deformation. The release force should also remain moderate enough that the wearer does not repeatedly stretch the knit around the attachment point.
When investigating a failed knit garment, compare the original hole size with the hole after repeated use. Enlargement around the post can indicate progressive textile deformation rather than an immediate setting defect.
Failure Mode 3: The Snap Rotates After Installation
An installed cap or post that rotates freely usually indicates insufficient clamping of the material stack.
Common causes include:
- post length too long;
- setting pressure too low;
- highly compressible material relaxing after installation;
- incorrect support from the setting die;
- an oversized installation hole.
Simply increasing setting pressure is not always the correct solution. If the post is fundamentally too long, additional pressure may crush the fabric or distort the mating component without producing a stable attachment.
Post Length Should Match Compressed Garment Thickness
The correct post length is determined by the material that remains between the components during final forming.
Too short:
- insufficient material remains for forming;
- the joint can separate under pull;
- the formed post may not grip the mating part evenly.
Too long:
- the post can buckle sideways;
- the cap may rotate;
- the textile can be excessively compressed;
- the socket or stud can become tilted.
For new garments, testing several neighboring post lengths on the actual construction is more reliable than selecting from a generic thickness chart.
Failure Mode 4: Components Are Misaligned
A snap can be securely attached and still perform poorly if the socket and stud do not meet concentrically.
Misalignment can originate from:
- incorrect garment marking;
- fabric shifting during installation;
- upper and lower dies that are not centered;
- machine play;
- poor operator positioning;
- pattern tolerances accumulating across the placket.
Repeated off-center engagement can wear one side of the socket, change release force and eventually deform the internal spring.
Misalignment Is Especially Visible on Structured Garments
A snap button denim jacket normally uses relatively stable fabric, so major positional errors are often easier to detect than on soft knitwear. However, multilayer seams and folded plackets can make the installation surface uneven.
If one side of the fastener sits on a seam allowance while the other side sits on a flatter area, the components can tilt even when their center marks are nominally correct.
Installation fixtures and accurate garment marking help reduce this problem in volume production.
Failure Mode 5: The Cap Is Dented During Setting
A decorative cap can be dimensionally correct before installation and damaged only during garment assembly.
Typical reasons include:
- lower die profile does not match the cap curvature;
- setting pressure is excessive;
- hard contamination is trapped between cap and die;
- the cap is not centered in the die;
- the wrong tool is being used for a similar-looking snap series.
Visible fashion hardware should therefore be inspected after setting, not only as loose incoming components.
The Setting Die Must Support the Component, Not Crush It
Correct installation tooling distributes pressure through the areas designed to receive it.
A metal snap button setter should match the specific component profile. Using a tool that is only approximately the correct diameter can place force on the decorative face, socket spring or stud geometry instead of the intended forming area.
The result may be a snap that looks acceptable externally but has damaged internal geometry and abnormal opening force.
Anvil Geometry Matters as Much as the Upper Tool
A snap button anvil and setter combination should support both sides of the assembly correctly. The lower support surface determines whether the visible cap remains centered and protected while the upper tool forms the post or prongs.
If the anvil is too shallow, too deep or incorrectly shaped, the cap can tilt or dent. In automated production, even a small mismatch can create a high defect rate because the same error repeats across thousands of units.
Hand Press Installation Is Useful Only When Tooling Is Correct
The search expression how to install metal snap buttons with hand press reflects a common development and small-production method. A hand press can provide more controlled force than improvised manual striking, but only if the dies, alignment and stroke are correct.
During sample development, the operator should confirm that:
- the upper and lower dies are matched;
- the snap sits concentrically;
- the press stroke is repeatable;
- the post is fully formed;
- the cap remains undamaged;
- the socket or stud is not compressed.
A hand press does not compensate for an incorrect post length or mismatched tooling.
Hammer Setting Has Higher Variation Risk
Requests about how to install snap buttons with hammer are common in repair, craft and prototype environments. Hammer installation can be adequate for certain compatible systems and low-volume trials, but impact angle and force are difficult to repeat consistently.
For B2B apparel production, pneumatic, mechanical or controlled manual presses normally provide more consistent alignment and forming force.
If hammer-installed samples are used during development, the production factory should still revalidate the snap with the equipment that will actually be used for mass manufacturing.
Pliers Are Convenient but Must Match the Snap Series
Similar concerns apply to searches for how to install press studs with pliers. Pliers can be convenient for lightweight applications and sampling, but generic jaws may not support every cap and socket design correctly.
The user should verify that the plier dies correspond exactly to the selected snap size and geometry. A superficially successful installation can still damage the internal spring or produce insufficient post forming.
Failure Mode 6: The Post Bends Sideways
Sideways bending is one of the clearest indicators of an installation geometry problem.
Common causes include:
- post too long;
- components not centered;
- the upper tool contacting the post at an angle;
- uneven material thickness;
- garment movement during the setting stroke.
A bent post may still hold initially but creates asymmetrical loading and reduced pull-out resistance.
Failure Mode 7: The Socket Becomes Too Tight After Setting
If opening force is normal on loose components but much higher after installation, the socket may have been deformed during setting.
This can happen when:
- the setting die presses on the socket wall;
- installation pressure is excessive;
- the substrate is too thick for the selected post;
- the socket is not properly supported.
Failure analysis should therefore compare loose-component operating force with installed operating force.
Failure Mode 8: The Snap Becomes Too Loose
A snap that opens too easily can result from incorrect socket/stud pairing, spring deformation, component wear, dimensional drift or excessive coating wear.
During root-cause analysis, verify that the socket and stud belong to the same approved snap series. Similar-looking parts from different systems should never be mixed based only on nominal diameter.
Sewing and Snap Installation Should Be Coordinated on Denim
The phrase sewing snaps on jeans reflects an important manufacturing reality: snap installation often occurs close to seams, pockets and folded denim structures.
Seam placement can create uneven thickness beneath the setting dies. If the snap center overlaps a seam allowance, one side of the cap can receive more support than the other.
Garment pattern engineering should therefore reserve a stable installation area whenever possible.
Metal Fasteners Used Around Sewing Operations Need Surface Protection
metal snaps for sewing may pass through several production stages before the garment is finished. Bulk handling, sewing-machine contact and transportation between departments can scratch decorative caps even before final packing.
Premium apparel programs should protect visible hardware during downstream sewing and finishing operations, especially polished, black, gold or coated caps.
Failure Mode 9: Burrs Cut the Fabric
Burrs can form during blanking, piercing and tool wear. Even a small sharp edge can damage fibers when the garment is repeatedly flexed.
Inspection should focus on:
- post edges;
- prong tips;
- socket openings;
- stud edges;
- trimmed cap components.
Increasing burr height over successive lots can also signal progressive tool wear and should trigger maintenance before failures reach the garment factory.
Failure Mode 10: Surface Finish Is Damaged During Installation
Decorative coatings may scratch, crack or chip when the setting tool contacts the visible surface incorrectly.
Possible corrective actions include:
- changing die geometry;
- using protective die inserts;
- reducing unnecessary contact with the visible cap;
- improving coating adhesion;
- adjusting installation force.
The correct action depends on whether the failure originates from the coating itself or from the mechanical setting process.
Material Selection Can Affect Forming Stability
The metal used for the snap must tolerate both component manufacturing and final garment installation.
Brass offers good formability. 304 and 316 stainless steels provide different corrosion-performance options. Baocheng can also manufacture finished snap components from JSW20 ultra-low magnetic permeability stainless steel.
JSW20 is a patented austenitic stainless steel with reference values including relative magnetic permeability around μr 1.001, yield strength Rp0.2 ≥350 MPa, tensile strength Rm ≥650 MPa and A50 elongation ≥40%.
It combines good formability with ultra-low magnetic response after substantial forming and chloride-corrosion resistance. Final garment needle-detection performance should still be validated under the actual production conditions.
Use Failure Mode, Not Appearance Alone, to Identify the Root Cause
| Observed Failure | Likely Areas to Investigate |
|---|---|
| Snap pulls out with torn fabric | Fabric strength, reinforcement, opening force |
| Post separates without fabric tearing | Post length, forming quality, setting pressure |
| Cap rotates | Post length, compression, insufficient setting |
| Cap dents | Wrong die, excessive pressure, contamination |
| Post bends sideways | Misalignment, post too long, uneven substrate |
| Snap too tight after setting | Socket deformation, die interference |
| Snap too loose | Component mismatch, spring wear, dimensional drift |
| Fabric cuts around hardware | Burrs, hole geometry, excessive local load |
A Good Failure Investigation Should Reconstruct the Entire Process
When a complaint occurs, the investigation should collect:
- customer garment sample;
- failed components;
- production lot number;
- approved golden sample;
- material and finish specification;
- post length;
- setting-tool identification;
- machine parameters;
- fabric construction;
- inspection and pull-test records.
Comparing a failed garment only with loose inventory may miss the installation-related cause.
Corrective Action Should Address the Process, Not Just Sort Defects
If a post is repeatedly bending, sorting out the visibly bent parts does not remove the cause. The supplier and garment factory need to determine whether post length, die alignment, machine stroke or substrate thickness is responsible.
Effective corrective actions can include:
- changing post length;
- adding reinforcement;
- repairing or replacing dies;
- re-centering the machine;
- changing installation pressure;
- tightening burr-control limits;
- modifying garment hole preparation;
- retraining operators on a revised controlled process.
How Baocheng Supports Garment Failure Analysis
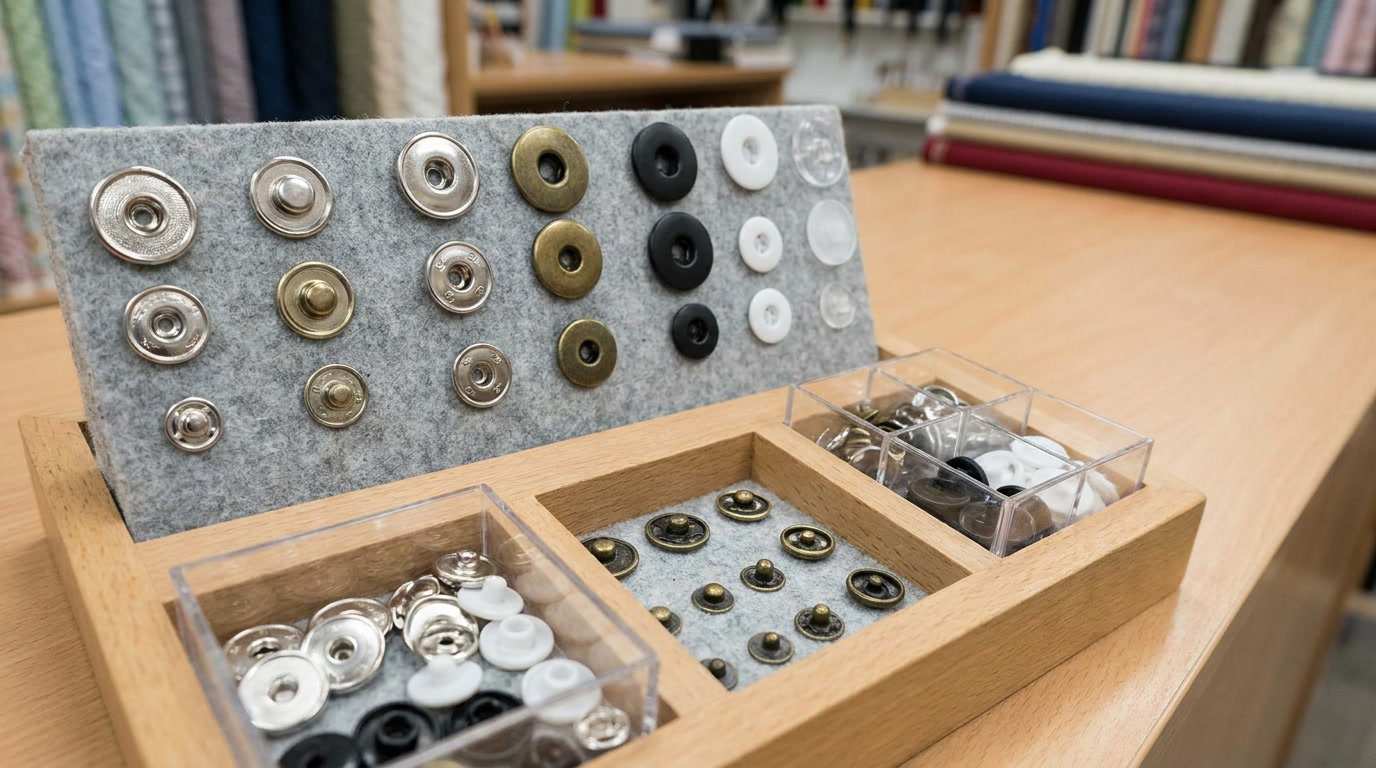
Baocheng can support snap-button development and troubleshooting around component structure, post length, materials, surface finish, setting tooling and representative garment construction.
For custom projects, development can include:
- cap/socket/stud/post matching;
- multiple post-length trials;
- spring and retention selection;
- brass, 304, 316 and JSW20 material options;
- finish selection;
- matched setting dies;
- installed sample evaluation;
- pull-off and functional test requirements according to the project.
The goal is to identify whether a failure comes from the component, the substrate, the installation process or the interaction between them.
Garment Factory Failure-Prevention Checklist
- Is the correct snap series being used?
- Are socket and stud components matched?
- Does post length match compressed thickness?
- Is reinforcement required?
- Are installation holes controlled?
- Are upper and lower dies matched?
- Is machine alignment verified?
- Is setting pressure controlled?
- Are caps inspected after installation?
- Are burrs monitored?
- Is opening force appropriate for the fabric?
- Are pull tests performed on the actual garment construction?
- Are repeated failures linked to lot and tooling records?
- Are corrective actions verified after implementation?
Conclusion
Snap-button failure on garments is rarely explained by one dimension or one component. Pull-out, fabric damage, misalignment, bent posts, dented caps and abnormal opening force usually result from the interaction between hardware geometry, textile construction and installation control.
The most effective prevention strategy is to validate the complete fastening system on the real garment. Post length should match compressed thickness, holding force should respect fabric strength, reinforcement should be added where necessary and installation dies should support the exact snap series.
When a failure occurs, the investigation should use the observed failure mode to identify whether the weak point is the fabric, post formation, component pairing, setting equipment or surface condition.
Controlling these variables before mass production is far more effective than sorting defective garments after the fasteners have already been installed.
Focused FAQ
Why do snap buttons pull out of fabric?
Common causes include weak or unreinforced fabric, incorrect post length, incomplete forming, oversized holes and opening force that is too high for the textile.
Why does a snap button rotate after setting?
Rotation often indicates an overlong post, insufficient setting pressure or a highly compressible material that relaxed after installation.
Can the wrong setting die damage opening force?
Yes. If the die compresses the socket or stud geometry, the installed snap can become substantially tighter or looser than the loose components.
Should garment pull testing use the real fabric?
Yes. Pull-out performance depends on the full garment construction, including fabric layers, reinforcement, seams and installation method.
Can a snap pass dimensional inspection but still fail?
Yes. Functional performance can be affected by component pairing, setting deformation, fabric strength and tooling even when individual dimensions are within tolerance.
Can Baocheng help identify the cause of repeated snap-button failures?
Yes. Baocheng can evaluate component matching, post length, materials, finish, tooling and installed samples to help isolate likely failure mechanisms.
#SnapButtonFailure, #GarmentQuality, #SnapButtonInstallation, #FabricDamage, #SettingDefects, #ApparelHardware, #QualityControl, #GarmentManufacturing, #JSW20, #BCNewMaterial