






Curtain Eyelet Spacing Explained: How Hole Position Affects Folds and Hanging
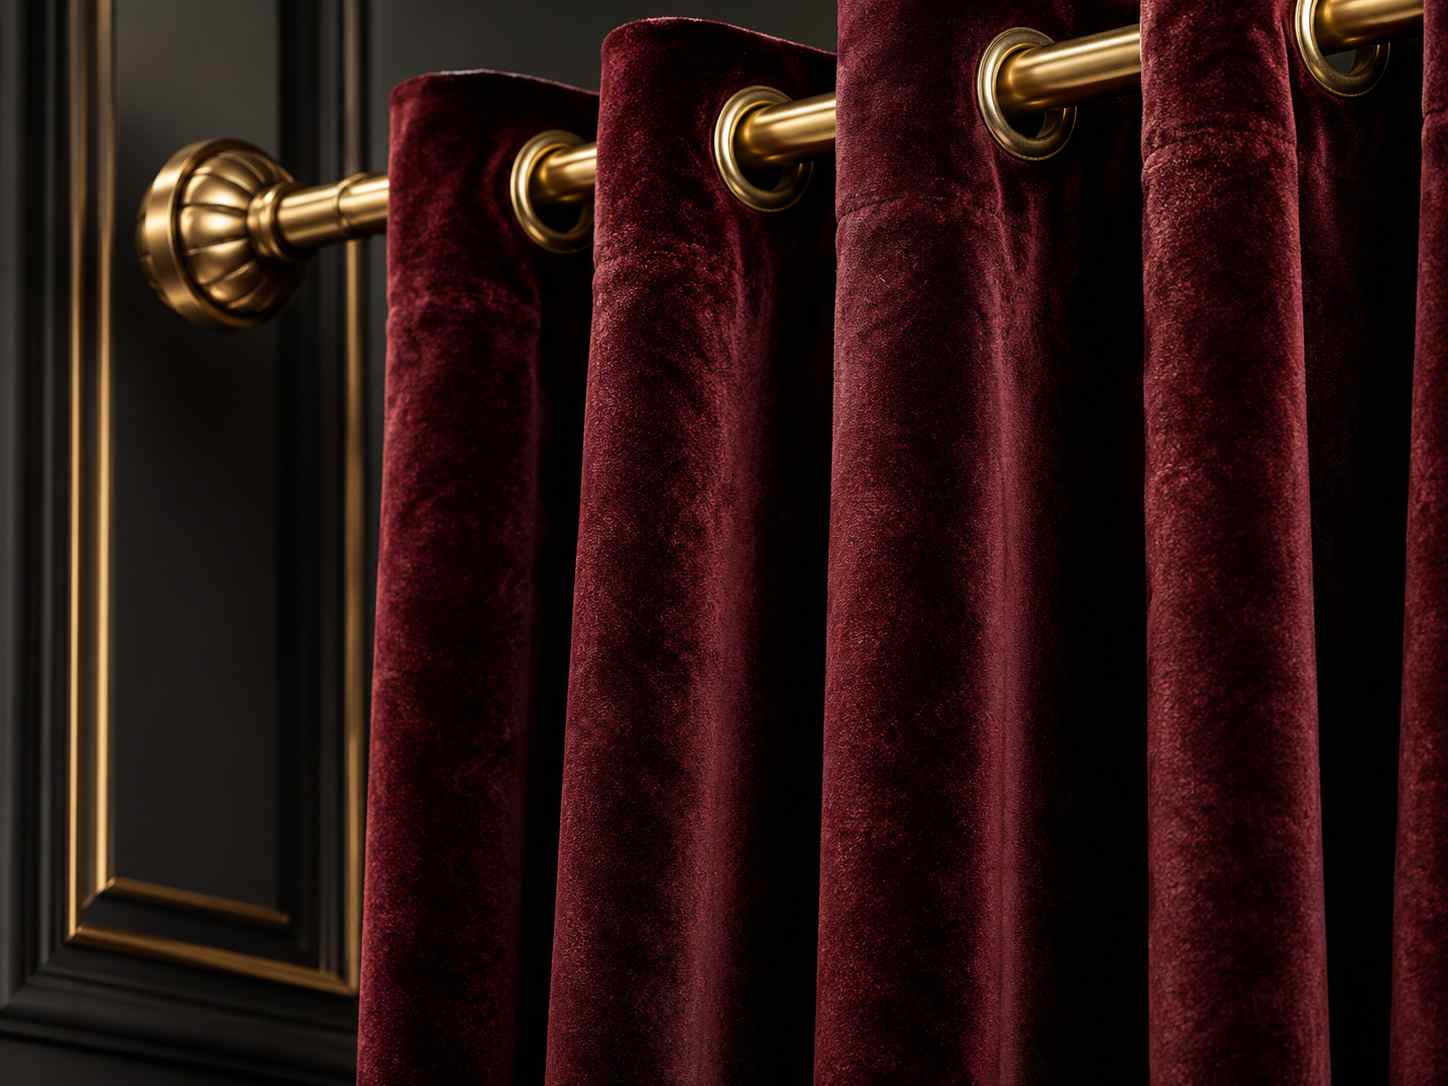
Curtain Eyelet Spacing Is Really a Fold-Geometry Decision
Two curtains can use exactly the same eyelets, the same fabric and the same curtain rod, yet hang completely differently because the holes across the header were positioned differently.
This is why curtain eyelet spacing should not be treated as the final decorative step after the panel has already been sewn.
The hole layout determines how much fabric exists between neighboring eyelets. That section of fabric becomes the material available to form each forward and backward fold after the curtain is placed on the rod.
If the spacing is too wide, the folds may become deep, heavy and difficult to control. If it is too narrow, the top of the curtain can look compressed and produce many shallow folds. Incorrect first and last hole positions can make an otherwise perfectly equal layout appear asymmetrical once the curtain is hanging.
A useful grommet spacing guide therefore needs to answer more than one question:
- How wide is the finished curtain panel?
- How much rod width must the curtain cover?
- How full should the curtain appear?
- How many eyelets are required?
- Where should the first and last eyelet centers be positioned?
- What is the finished eyelet inside diameter?
- How stiff is the curtain header?
- How should the side edges face when the curtain is hanging?
The correct layout begins with the finished hanging effect and works backward toward the punch positions.
Start with the Hanging Width, Not the Number of Eyelets
One of the easiest ways to create an unstable curtain layout is to decide that the panel will have, for example, 12 or 16 eyelets before establishing how much fabric the finished window treatment actually requires.
Instead, the designer should first determine the rod coverage and target fullness.
For illustration, suppose a curtain must cover 1,800 mm of rod width when closed. If the design uses a flat panel width of 3,600 mm, the panel contains approximately twice the fabric width compared with the area it covers.
This extra material is what forms the waves between the eyelets.
If the same 1,800 mm opening were covered with substantially less fabric, the folds would become shallower even if the eyelet spacing remained nominally similar.
This is an important distinction for manufacturers researching how to measure for grommet curtains: measuring the window or rod provides the coverage requirement, but it does not directly provide the final panel width. Desired fullness must be established separately.
Four Dimensions Control the Basic Hole Layout
Before calculating positions, define four dimensions clearly:
| Dimension | What It Means | Why It Matters |
|---|---|---|
| W | Finished panel width | Defines the total fabric available across the header |
| E | Distance from each side edge to the first or last eyelet center | Controls edge returns and visual balance |
| N | Total number of eyelets | Determines the number of intervals between centers |
| P | Center-to-center pitch | Controls the amount of fabric forming each fold |
If the first and last center offsets are equal, a useful basic calculation is:
P = (W − 2E) ÷ (N − 1)
This is not a universal curtain-design standard. It is simply the correct geometric relationship for equally spaced centers across a finished panel when both edge offsets are equal.
An Example Shows Why Eyelet Count Changes the Fold Immediately
Consider a finished curtain panel that is 3,600 mm wide. Assume the first and last eyelet centers are each 60 mm from their nearest side edges.
With 16 eyelets:
P = (3600 − 120) ÷ 15 = 232 mm
If the same panel uses 18 eyelets:
P = (3600 − 120) ÷ 17 ≈ 205 mm
Nothing about the fabric width has changed, but the material available between adjacent eyelets has decreased by approximately 27 mm.
That difference is repeated across the entire curtain.
The 18-eyelet version will generally create a higher number of tighter folds, while the 16-eyelet version provides more fabric between each adjacent hole and therefore allows a deeper wave.
This is why an eyelet spacing guide cannot prescribe one center distance for every curtain.
The Fabric Between Two Eyelets Becomes One Part of the Wave
Once the curtain is placed on the rod, neighboring eyelets normally alternate around the front and rear of the rod. The fabric between those eyelets therefore no longer remains in a flat straight line.
It moves forward and backward in depth.
The center-to-center spacing controls how much fabric is available for that movement.
A larger flat pitch can create:
- deeper folds;
- greater forward projection;
- larger visual waves;
- more fabric accumulation when the curtain is opened.
A smaller pitch can create:
- more frequent folds;
- shallower waves;
- a tighter header appearance;
- potentially larger hardware count and installation cost.
Neither is automatically correct. The intended interior style determines which appearance is desirable.
Why Equal Hole Spacing Can Still Produce Unequal Folds
This is one of the most important practical points for curtain manufacturing.
A factory can punch every hole at exactly the same center-to-center dimension and still produce a curtain that does not hang with visually equal folds.
The reason is that hole position is only one input.
Other variables include:
- unequal fabric stiffness;
- lining movement;
- inconsistent header reinforcement;
- side hems with greater thickness than the center of the curtain;
- eyelets installed at slightly different vertical positions;
- different friction between individual eyelets and the rod;
- fabric grain or weave distortion;
- curtain weight distribution.
This is particularly common on lined and blackout curtains.
The side edges may contain folded hems several layers thick, while the center contains fewer layers. The two end sections therefore resist bending differently from the internal sections.
A mathematically perfect layout can consequently need a small practical adjustment after the first hanging sample.
The First and Last Eyelets Are More Important Than They Look
Production teams often focus heavily on the distance between internal holes but treat the first-hole offset as a simple leftover dimension.
That is a mistake.
The first and last eyelet positions determine how much material remains between the side edge and the nearest eyelet center.
This section controls the side return.
If the hole is too close to the side edge, several problems can occur:
- the side hem may crowd the eyelet;
- there may be insufficient reinforcement around the hole;
- the curtain edge can turn outward instead of returning toward the wall;
- the last fold can look noticeably smaller than the others.
If the hole is too far inward, the side return can become excessively large and behave like an extra half-fold.
Therefore, edge offset should be defined as a controlled design dimension rather than whatever distance remains after the internal pitch has been chosen.
Even Eyelet Counts Usually Make the Alternating Fold Pattern Easier to Control
Many grommet curtain designs use an even number of eyelets.
The reason is related to the alternating path of the curtain around the rod. When the sequence is properly planned, an even count makes it easier to control the orientation of both side edges and create a consistent front-back-front-back progression.
This should still be confirmed on the actual product because side returns, panel pairing and installation direction can change the desired terminal orientation.
The important manufacturing principle is that eyelet count affects more than how many pieces of hardware must be purchased. It also changes the final topology of the hanging curtain.
Rod Diameter Changes the Fold Geometry
The relationship between the eyelet and the rod introduces another dimension into the layout.
A buyer choosing a grommet size for curtain rod should not focus only on whether the rod physically fits through the hole.
The clearance influences how the curtain moves and where the eyelet centers settle relative to the rod.
With a small rod inside a relatively large eyelet:
- the eyelet has more freedom to tilt;
- the curtain can move farther forward and backward around the rod;
- metal hardware may generate more impact noise;
- the top edge can appear less mechanically constrained.
With a very tight fit:
- sliding resistance can increase;
- rod coating tolerances become more critical;
- telescopic rod joints can become harder to pass;
- small eyelet dimensional variation becomes more noticeable.
For production, the actual rod sample or an accurately specified rod diameter should therefore be available during curtain development.
Vertical Hole Position Determines How Much Fabric Sits Above the Rod
Spacing is usually discussed horizontally, but vertical position is equally important.
The distance from the upper fabric edge to the eyelet center determines how much curtain header remains above the rod.
If the eyelet is positioned too low, a relatively large fabric crown appears above the hardware.
If the hole is too high, there may be insufficient material between the top edge and the eyelet flange.
That can reduce structural support and make the header look visually weak.
Vertical location also interacts with eyelet outside diameter. A large eyelet needs sufficient material both above and below the opening.
Therefore the final top offset should be established after the eyelet dimensions are known—not before.
Large Eyelets Change the Available Structural Area
Increasing eyelet outside diameter can make the curtain appear more architectural and premium, but each larger hole removes more material from the header.
When several openings are installed in a row, the remaining textile between holes is the material that carries loads across the top of the curtain.
This is why large metal drapery grommets should be evaluated together with:
- header reinforcement;
- fabric tensile strength;
- hole pitch;
- eyelet flange diameter;
- finished curtain weight.
The metal ring itself may be extremely strong while the fabric between two neighboring holes becomes the weaker element.
Header Reinforcement Can Change the Fold More Than the Eyelet Material
The top of a grommet curtain normally needs more dimensional stability than the lower portion of the panel.
Otherwise, each eyelet can tilt independently and the folds lose their regular rhythm.
A curtain grommet tape or other reinforcement layer can help stabilize the hole zone and keep the upper section from collapsing between eyelets.
Manufacturers may also use grommet tape for curtains as part of a production system that assists with reinforcement and, depending on the construction, hole positioning.
However, reinforcement must be matched to the fabric.
If it is too soft, heavy curtains may still sag between eyelets.
If it is excessively stiff, the curtain may form hard polygon-like folds rather than smooth waves.
The desired result is controlled bending—not zero bending.
Stiff Fabric and Soft Fabric Need Different Spacing Logic
Imagine two curtains with identical dimensions and identical hole centers.
One uses a dense blackout fabric with a reinforced header. The other uses a relatively soft decorative textile.
The stiff curtain naturally resists curvature. It tends to form broader, more defined folds.
The softer curtain can collapse into narrower curves and may require different spacing or reinforcement to maintain a similar visual rhythm.
For this reason, spacing should be developed on the actual production fabric whenever appearance is important.
Using a substitute fabric during sampling can produce a mathematically correct layout that fails visually after material approval changes.
Thickness Changes Near Side Hems Must Be Included in the Layout
The side hem deserves special attention because it may contain two, three or more layers of fabric.
If the first eyelet overlaps part of this thicker construction, its installed height may differ slightly from the next eyelet.
The thicker area also bends less easily.
As a result, the first fold may look different even if the center spacing is identical.
A production drawing should therefore show both the eyelet center and the finished side-hem boundary.
This allows the engineering team to confirm that the eyelet flange and punched hole remain inside the intended reinforced area.
How the Curtain Is Sewn Can Shift the Hole Layout
Teams learning how to make grommet curtains often calculate the hole positions on the cut fabric and assume those positions will remain unchanged after sewing.
That can introduce error.
The finished width can change because of:
- side hems;
- seam allowances;
- lining attachment;
- fabric relaxation;
- heat processes;
- handling during sewing.
For reliable production, eyelet positions should be referenced to finished dimensions wherever practical.
If holes must be punched before another operation, the pattern should compensate for the dimensional change created by the later process.
How to Add Eyelets Without Losing the Spacing During Production
In high-volume manufacturing, knowing how to add grommets to curtains is not mainly about the physical setting action. The greater challenge is repeating the hole location across hundreds or thousands of panels.
Potential methods include:
- fixed punching templates;
- indexed hole-position jigs;
- marked reinforcement tape;
- digital or programmable positioning systems;
- multi-step fixtures combining punching and setting.
Whatever method is selected, the datum must be defined clearly.
For example, does the operator locate every hole from the left finished edge, or does the operator place the first hole and then index every remaining position from the previous hole?
These two methods create different tolerance accumulation.
Do Not Let Pitch Error Accumulate Across the Entire Panel
Suppose a 16-eyelet curtain contains 15 intervals.
If every interval is independently positioned 1 mm too wide, the final eyelet can shift approximately 15 mm from its intended location.
That difference becomes highly visible at the side edge.
This is known as cumulative or stack-up error.
A better production strategy controls critical positions against stable datums rather than allowing every hole to inherit the error of the previous hole.
Depending on equipment, the manufacturer can:
- reference each hole to a fixed master scale;
- locate groups of holes from independent datum points;
- use a rigid full-width template;
- verify the final eyelet center before punching the complete batch.
Nominal Spacing and Visual Spacing Are Not Always the Same Thing
Metal drapery eyelet rings can have slight flange variations, and the fabric can move during cutting or punching.
Therefore two eyelet centers may technically be positioned correctly while their visible outer edges appear inconsistent if the components are not concentric or are installed at different angles.
This is why quality control should measure hole centers or eyelet centers—not simply the gap between visible flange edges.
Center-to-center measurement is the more stable engineering reference.
Common Hanging Problems Can Often Be Traced Back to Hole Position
| Visible Problem | Possible Layout Cause |
|---|---|
| First fold is smaller than all others | Incorrect first-eyelet edge offset or thick side hem |
| Curtain edge faces into the room | Eyelet count or front/back threading sequence was not planned |
| Folds are too shallow | Too many eyelets for the available panel width or insufficient fullness |
| Folds project too far into the room | Center spacing is large relative to installed coverage |
| Top edge sags between eyelets | Header reinforcement is insufficient or spacing is too wide for fabric stiffness |
| Last eyelet is visibly off-position | Cumulative indexing error across the panel |
| Eyelets appear level but folds are uneven | Fabric or reinforcement stiffness varies across the header |
Hole Position Also Affects How the Curtain Stacks When Open
Spacing is not only about the curtain when it is closed.
When the curtain is opened, all folds accumulate toward one or both sides of the rod.
Deeper folds and larger hardware can increase the amount of horizontal stack space required.
This matters when:
- the window needs maximum exposed glass area;
- the curtain must clear a door;
- wall space beside the opening is limited;
- two curtain panels meet at the center.
A beautiful closed curtain can become impractical if the stack occupies too much of the window when open.
Prototype hanging should therefore evaluate both fully closed and fully open conditions.
Paired Curtain Panels Need Mirrored Layout Control
Two-panel window treatments add another layer of complexity.
The left and right curtains should appear symmetrical when closed at the center.
This requires control of:
- center-edge eyelet offset;
- outside-edge return;
- eyelet count on both panels;
- fold direction;
- finished panel width.
If one panel is only slightly wider or the center eyelet is positioned differently, the meeting line can look unbalanced even if both panels independently pass dimensional inspection.
For premium projects, the left and right panels should therefore be approved as a hanging pair rather than only as separate flat pieces.
The Eyelet Layout Should Be Tested on the Real Rod
Flat-table inspection is necessary, but it cannot show fold behavior.
Before approving production, manufacturers should hang a full-size sample on the actual or dimensionally equivalent rod.
The test should evaluate:
- closed appearance;
- open stack width;
- first and last fold direction;
- fold depth;
- visual symmetry;
- top-edge level;
- sliding resistance;
- interaction with brackets and telescopic joints.
Photographs should be taken from a consistent viewing position so different sampling revisions can be compared objectively.
A Practical Pre-Production Validation Sequence
Rather than adjusting holes by trial and error during mass production, a curtain manufacturer can qualify the layout in a controlled sequence.
Step 1: Confirm finished dimensions
Measure the completed panel after hems, lining and reinforcement have been assembled.
Step 2: Confirm eyelet and rod combination
Check the actual inside diameter, flange diameter and rod outside diameter.
Step 3: Set the first and last center positions
Define side returns intentionally rather than leaving them as residual dimensions.
Step 4: Calculate the center pitch
Use the finished width, edge offsets and eyelet count to establish the nominal center-to-center spacing.
Step 5: Produce one full-width sample
Do not validate only a short strip because it cannot reveal cumulative positioning error or final stack behavior.
Step 6: Hang the sample
Evaluate the curtain in both open and closed conditions.
Step 7: Adjust before freezing tooling
If the fabric stiffness or side hems alter the visual fold, make the controlled correction before producing templates or high-volume fixtures.
Production Tolerances Should Reflect What the Customer Can Actually See
Not every dimension needs the same tolerance.
For a long curtain header, minor variation in an internal pitch may be less visible than a large error at the first or final eyelet.
Important control characteristics may therefore include:
- first eyelet center from finished edge;
- last eyelet center from finished edge;
- maximum individual pitch variation;
- total center span from first to last eyelet;
- vertical eyelet-center alignment;
- finished eyelet concentricity.
This approach controls the features that directly determine hanging appearance instead of applying unnecessarily tight tolerances to every unrelated dimension.
B2B Buyers Should Specify the Curtain System, Not Only the Eyelet

An RFQ stating “40 mm curtain eyelet” provides too little information for a meaningful engineering recommendation.
A better specification includes:
- finished curtain width;
- finished curtain weight;
- number of eyelets;
- desired center spacing or fold appearance;
- side-edge center offset;
- vertical center location;
- rod outside diameter;
- fabric and lining structure;
- header reinforcement;
- eyelet base material;
- surface finish;
- front and backside appearance requirements;
- annual or batch quantity.
This allows the hardware supplier to evaluate whether the requested eyelet geometry actually fits the curtain construction.
Custom Eyelets Can Help When Standard Geometry Forces a Bad Layout
Standard eyelets are efficient when their dimensions fit the curtain design.
Customization can become valuable when:
- the rod requires a nonstandard opening;
- the designer wants a specific flange proportion;
- the curtain header has unusual thickness;
- the visual hole size must remain fixed while the outside diameter changes;
- premium metal finishes must coordinate with the rod;
- heavy curtains require greater structural control.
BC New Material supports customized metal eyelet and grommet components for B2B projects using materials including stainless steel, brass, zinc alloy and other project-specific options.
For curtain applications, dimensional consistency, clean internal edges, surface-finish consistency and compatibility with the setting process should be considered together with the desired decorative appearance.
Good Curtain Folds Are Designed Before the First Hole Is Punched
The most important lesson in curtain eyelet spacing is that a row of equally spaced holes is not automatically a well-designed curtain.
The holes control a three-dimensional hanging structure.
Panel width determines how much fabric is available. Eyelet count divides that fabric into fold sections. First and last positions control the side returns. Rod diameter changes how the hardware sits. Header stiffness determines whether the fabric maintains a controlled wave. Production tolerances determine whether the design can be repeated across thousands of panels.
That is why the correct workflow starts with the finished hanging condition.
Define coverage and fullness first. Select the rod and eyelet. Establish the edge offsets. Calculate the pitch. Build a complete panel. Hang it. Evaluate the first fold, internal waves, side returns and open stack. Only then should the final punching fixture or production program be released.
When this sequence is followed, hole position stops being a decorative guess and becomes a controllable engineering dimension that directly improves curtain symmetry, hanging consistency and perceived product quality.
Focused FAQ
1. How is equal curtain eyelet spacing calculated?
If both side offsets are equal, a useful geometric formula is center pitch = (finished panel width − two edge offsets) ÷ (number of eyelets − 1). The result should still be validated on the actual fabric and rod.
2. Why are an even number of eyelets commonly used on grommet curtains?
An even count usually makes the alternating front-and-back path around the rod easier to control and can help both side edges terminate in the intended direction. The final orientation should still be checked by hanging a complete sample.
3. What happens if curtain eyelets are spaced too far apart?
More fabric remains between neighboring holes, generally creating deeper folds and greater projection. On weak headers, excessive spacing can also allow the top edge to sag between eyelets.
4. What happens if the eyelets are too close together?
The curtain tends to form more frequent, shallower folds. Hardware count and installation cost increase, while the header contains more punched openings across the same width.
5. Why can evenly spaced eyelets still create uneven folds?
Fabric stiffness, side-hem thickness, lining, reinforcement, eyelet vertical position and friction on the rod can all change how individual sections bend even when their center spacing is mathematically identical.
6. How important is the first eyelet position?
It is critical because it controls the side return and the first fold. A first hole positioned too close or too far from the edge can make the entire curtain look asymmetrical.
7. Does curtain rod diameter affect eyelet spacing?
Rod diameter does not directly change the flat center pitch formula, but it changes the three-dimensional hanging geometry, eyelet tilt, sliding clearance and fold projection. It should therefore be included in the hanging validation.
8. Should eyelet holes be positioned before or after sewing the curtain?
Whenever practical, layout should reference finished panel dimensions because hems, lining and reinforcement can change width. If punching occurs earlier, the pattern needs to compensate for later dimensional changes.
9. Why is a reinforced header important for grommet curtains?
The reinforcement stabilizes the area surrounding the large holes and helps the upper curtain maintain a consistent fold rhythm. Reinforcement that is too soft can sag, while excessively stiff reinforcement can make folds look rigid.
10. What should a buyer provide when ordering custom curtain eyelets?
Provide the rod diameter, required eyelet inside and outside dimensions, finished curtain width and weight, header thickness, eyelet count or spacing, base material, finish, installation method and preferably a curtain or fabric sample.
#CurtainEyeletSpacing, #CurtainGrommets, #DraperyHardware, #CurtainManufacturing, #MetalEyelets, #CurtainDesign, #GrommetCurtains, #WindowTreatmentHardware